 Hi Creative Adventurers,
Apart from printing with potato stamps I had no previous experience in print making whatsoever. Therefore I was very excited when we could choose Print Making as a Module. Today I had my last session of our "Professional Contexts" Print Making Workshop and I wanted to share a few insights into my experience in the world of Print.
MediaCity Campus is equipped with its own print room and we covered 3 different printing techniques over the course of the last three weeks:
- Block Printing
- Mono Printing
- Litho Printing
Block Print
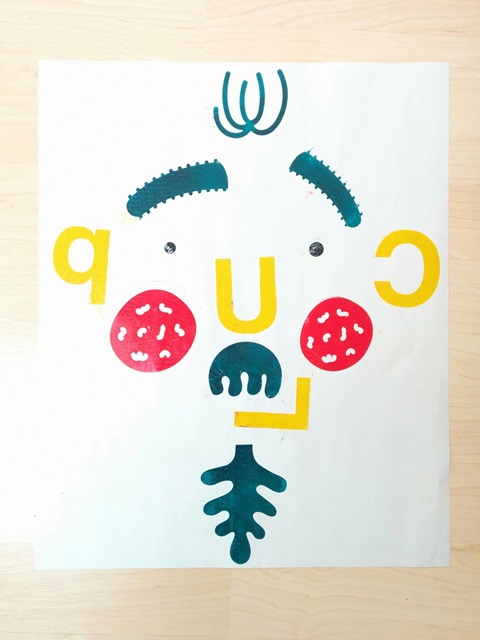
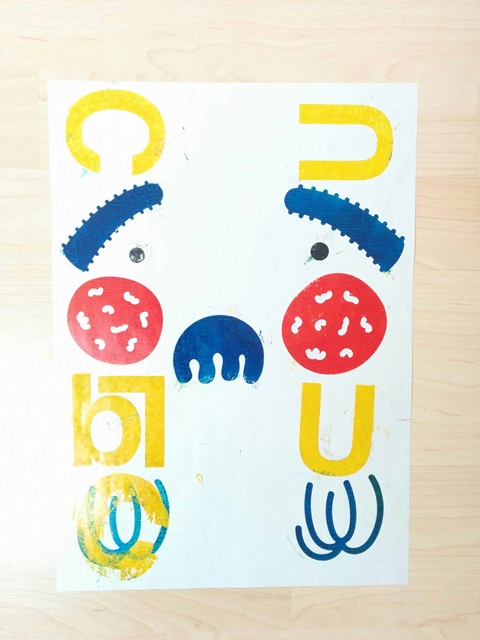
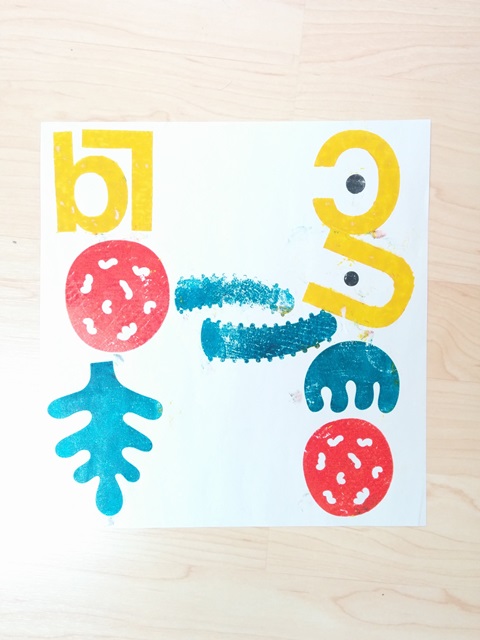
In our first session we were provided with a short Health and Safety Instruction and a quick overview of the print room and the different equipment we can use. The task was to form faces with different (plastic) shapes and letters and later each student was asked to design a letter (mine was H) without using the actual letter. Then these shapes and letters get inked up with rollers and then pressed onto the paper. Another paper (news print) is used on top of it to avoid ink attaching to the press and then, depending on the press, a roller prints the ink on the paper or an actual press is used.
Ink
The Ink we used throughout the three weeks is a rubber based ink. If you haven't worked with rubber based ink before, it is very rich and sticky, which can come in handy but also "was liegt, das pickt" as we say in Austria (if you drop it, that's it, it will stick to the surface).
Tip: If you want to know how to remove rubber ink stains off hands and work surfaces use vegetable oil or baby wipes (water won't do the job).
Reflection Week 1
To be honest, I struggled with this new medium. Being a bit of a perfectionist I found it quite hard not to be messy and get paint all over the print. Therefore, I tried to be more careful which resulted in only three prints in two and a half hours of work (this includes also waiting times for the ink rollers and the roller press etc. to be free). However, after letting go of my desire to "control everything" I really enjoyed forming a face and creating the letter shape and I'm pleased with the result of especially the first one.
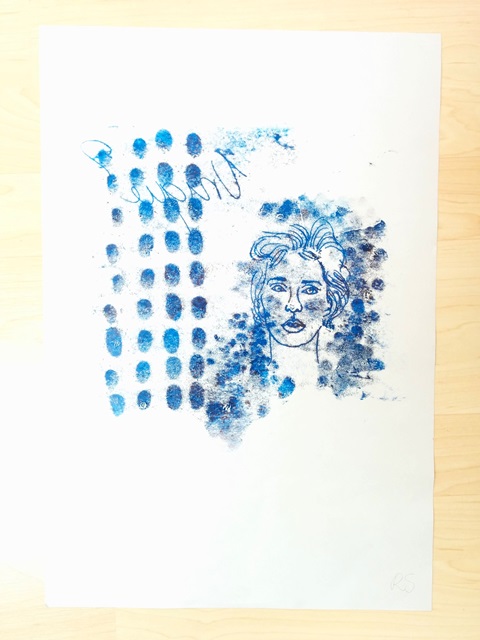
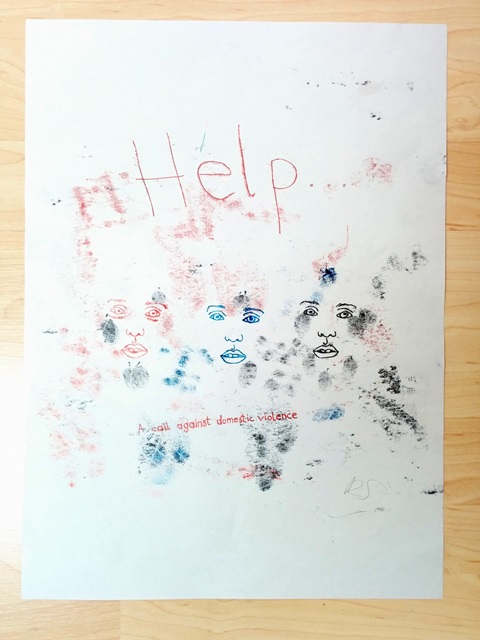
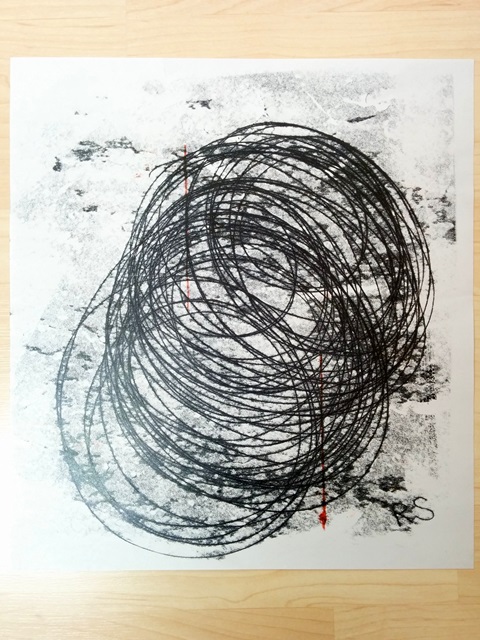
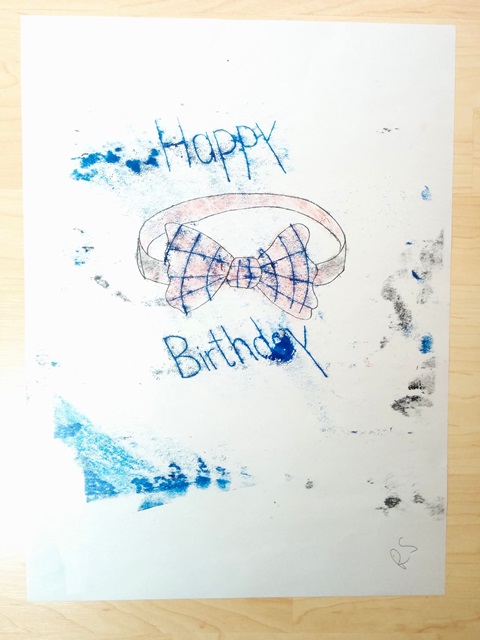
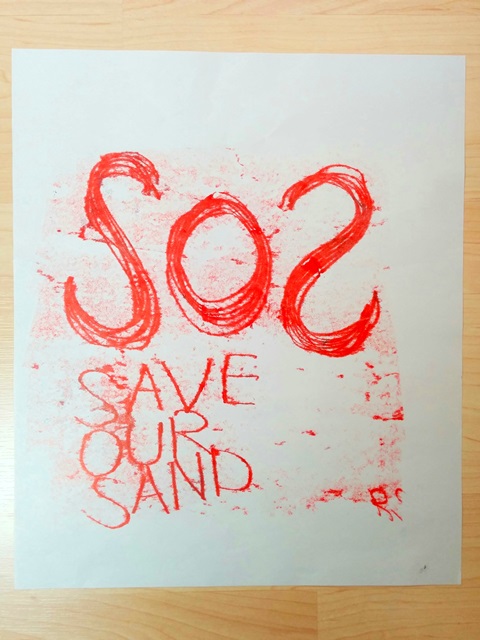
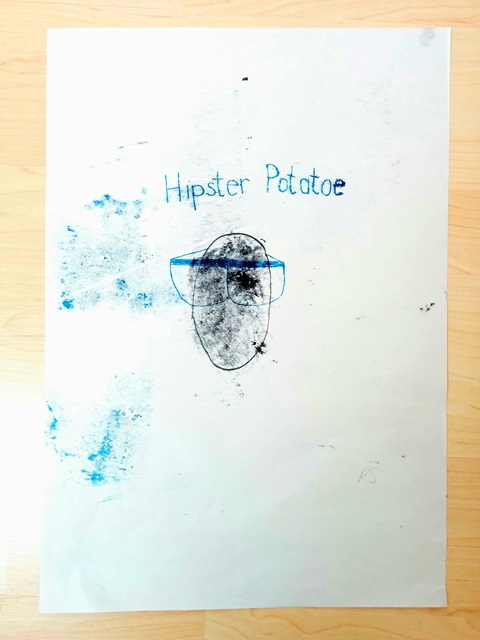
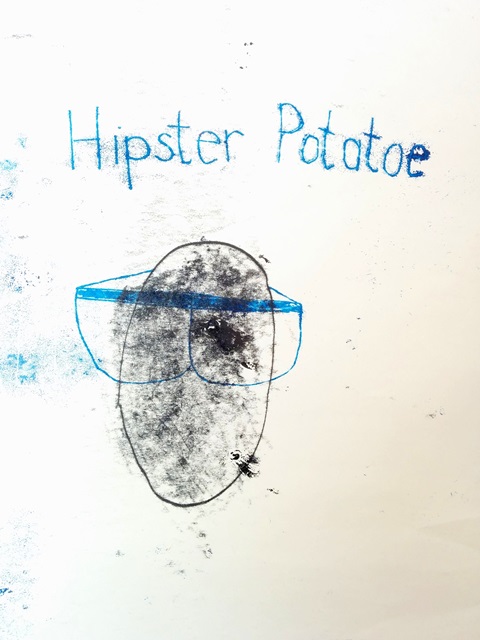
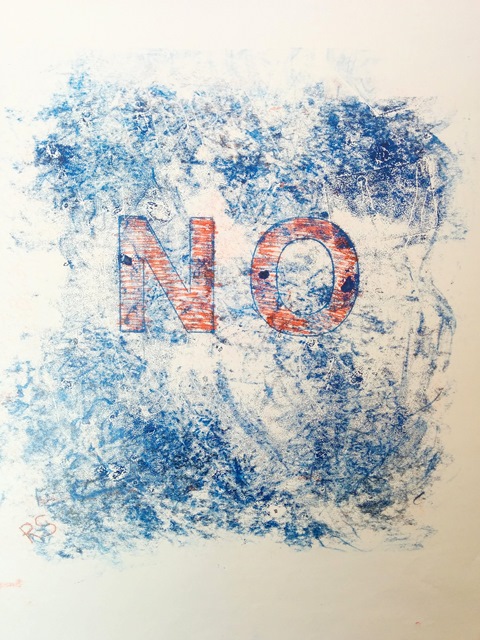
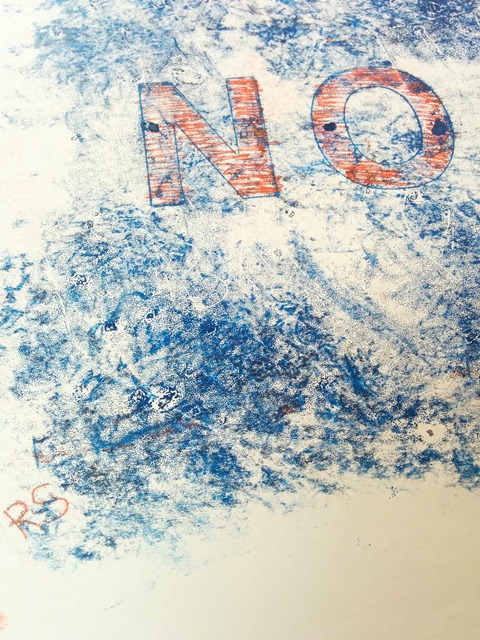
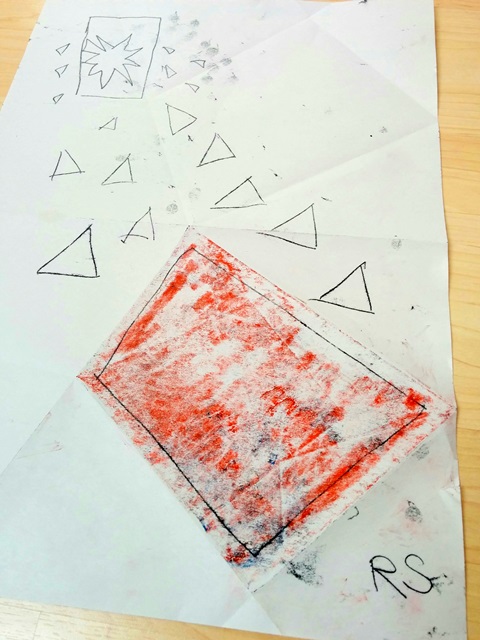
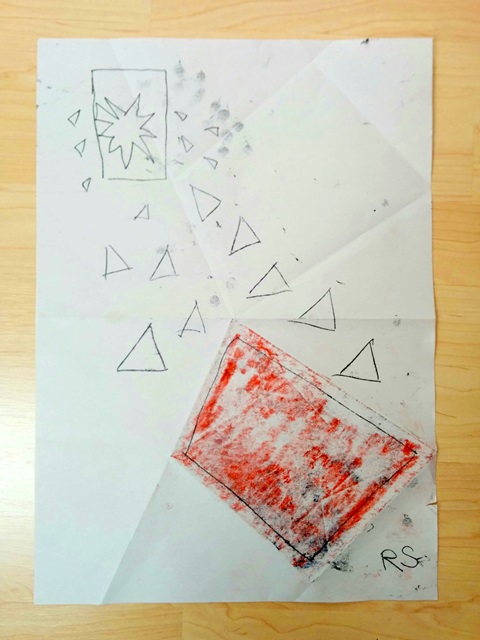
Mono Printing
Mono Print in some way was the easiest to relate to for me. It is quick and a bit unpredictable but I really loved working with it. With this method all you have to do is lay an ink surface and then place a sheet of paper (news print) to remove the first layer of colour to achieve a more even coverage. Then use another sheet, this time the one you want your print on and then start to use all kinds of tools to leave marks. You can use pencils to draw sketches, forks or all kinds of tools, even your fingers. Through pressure the ink will transfer in specific areas. However, if you lean on the paper with your hand while drawing, this will also leave its marks.
Reflection Week 2
This time I produced many prints, let go of my perfectionism and just played. The results are not that impressive but I tried various things including fingerprints, transferring sketches and hand lettering (which is a bit tricky because you have to mirror the letters). Looking at my work, I am not as happy with the results but I like the method. With more preparation I'm convinced I will be able to produce some high quality work. UPDATE: I just realised that one of my favourites from this session has gone missing. Will go back to the print room to find it - fingers crossed.
Litho Printing
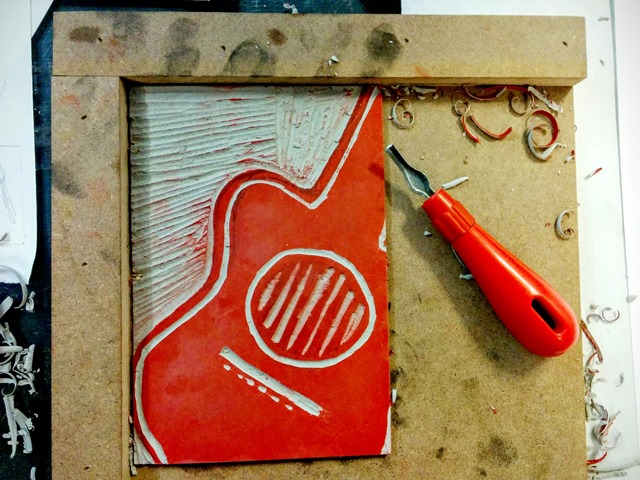
And there was blood. If you are not familiar with litho printing, please keep these words in mind: Always use the (carving) knife away from your body. It is helpful and safer to use a special table wood block you can lock to the edge of your table like in the pictures below. The process for this method is using the knife to carve away areas that should remain white. Raised areas will be later covered with paint. Litho printing is amazing for a higher volume of prints with comparable quality. After you prepared your surface, evenly apply ink with a roller and then place two layers of paper on it (first the paper you want to print on, second a news print paper to protect the roller or press from ink). Then use the same procedure as with the block print.
Reflection Week 3
Litho Print was the most challenging for me. I have never used this kind of knife and because of the time-consuming task of carving, I wanted to have a clear idea what exactly I want to print. While most, if not all, my colleagues have already done this method before I wasn't quite sure how detailed or simple I want my image to be. In the end I spent too much time thinking instead of doing until I came to the realisation that I'm a beginner and it doesn't have to be perfect. I chose something simple and carved a guitar out of memory.
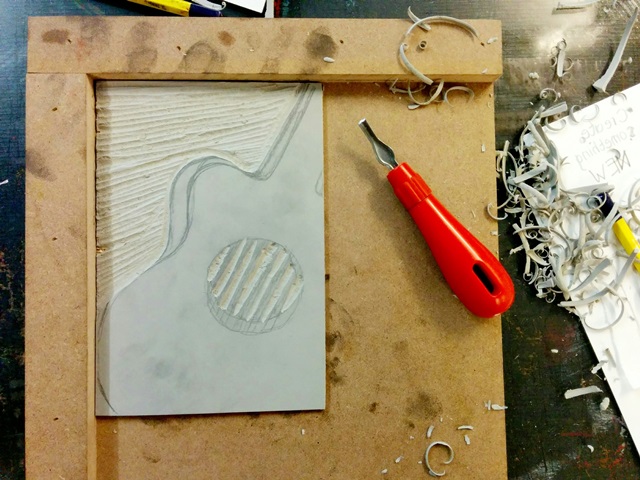
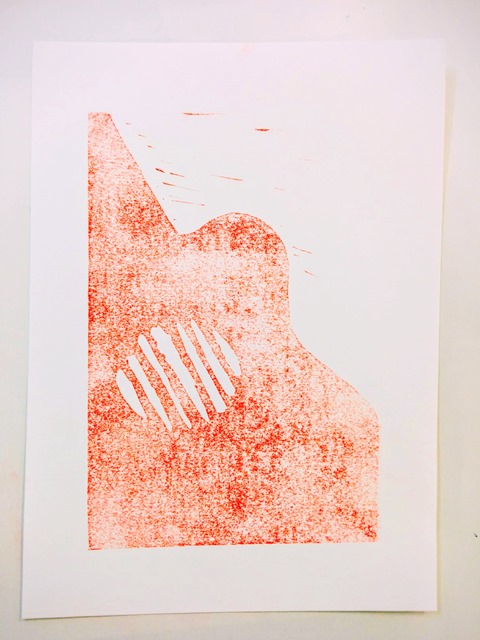
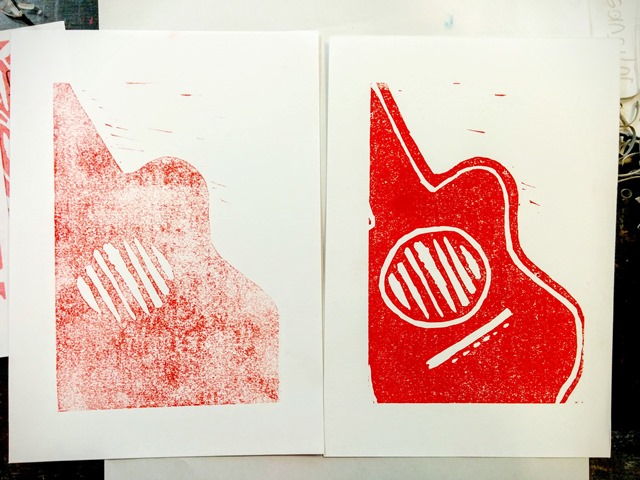
The first print showed that the guitar wasn't really recognisable so I decided to take my knife again and refine it. This turned out much better and even though I probably should have used some reference I'm quite satisfied with the result.
Conclusion
Print making was a new and exciting experience. I love the possibilities and the uniqueness of each printing method and result and recommend it to everyone interested in graphic design. Just be very careful when carving with the knife - we had some blood stained fingers in the room but everyone is ok, don't worry.
I hope you enjoyed this short insight, if you have tried these methods before, let me know what you think and share your work in the comments.
Have a wonderful day,
Romica :)